Chase the Light 2021

Short post today to share the results of my 5 submissions for the Photographic Center Northwest’s Chase the Light photo event and fundraiser. Always glad to support non-profits that I have personal connection to. Had fun on a one day shoot to Eastern Washington. Shot on a combination of my Hasselblad film camera and my Holga toy plastic camera, got some stunning images to show. Can you guess which one they selected as available to purchase?

As you can tell, it was perfect weather!!! Large puffy clouds, which make for beautiful skies, as well as providing shadows on the land below - these are great for providing a sense of distance (foreground, middle ground, and background) and much preferable to pure blue skies. I lucked out! In fact, I took quite a bit of other images, which will show up along the way.

If you’d like to see more of my work, I post quite often, and with images that don’t show up on my website. If you like what you see, please check out my instagram, where I post the most (average of 3x/week): instagram.com/tazarat. Ok, for the winning image that the jurors of the event chose: it was #1, the barn and wildflowers taken with my Holga camera. This camera is imperfect, and includes lots of light leaks, both in the camera body (which is pressed plastic), and in the film loading/unloading. The film is never tight enough, so when I open the cover on the camera, the film is not rolled tightly enough, so light can get in from the edges (which for medium-format film has a paper backing and is not sealed in a plastic capsule like with 35mm film). So the weird pink and white streaks are from too much light outside of the camera!

Which images is your favorite? Which would you have chosen as the “single” image to have available for sale to raise funds?

The Importance of Play & Experimentation

I’m participating in Chase The Light, a fun summer photographic extravaganza and fundraiser for my local non-profit, PCNW (Photographic Center Northwest). It’s where I go to print my images, and my local community of photographers. I became a member after I left college, and didn’t have access to darkrooms, or a digital lab. Without owning my own printer (a story for another time), I didn’t know where else to go to create work. They’re an invaluable resource, so I’m excited to participate in their 48-hour shooting event, followed by a print exhibit/sale next weekend. Part of what makes me giddy is to be involved in an event like this with several hundred other photographers. Within a short time-frame, what potential images could I make? How will I stack up against the other participants? I can’t wait to see what images everyone else makes, and have them see my work.

What is so attractive about this event is the lack of limitations, it’s fun and very freeing! Any image, any process goes! I don’t have to shoot a particular style, or type of film, or have it fit into “a body of work” where an overall cohesive aesthetic, look and feel, is necessary to display different images together. This is to produce a single image. With that in mind, I took off for Eastern Washington, my favorite location to shoot, armed with 2 cameras and several types of film. My bread and butter: my Hasselblad 500 c/m medium-format film camera, and a Holga, a plastic toy-camera that you can buy new for $60.

Saturday’s bumper crop of exposed film, from 1 day of shooting.

Saturday’s bumper crop of exposed film, from 1 day of shooting.

I simply drove, keeping an eagle eye out for any interesting scenes, both landscapes and details. I shot things I thought were interesting, but would never normally shoot, and continually changed my lens to get different focal lengths. I shot different angles on different cameras, interested to see which would vie for top spot. At the end of the day, 16 1/2 hours driving and 665 miles later, I had 7 rolls of film to show for it.

I’ll be dropping film off at the lab to be processed, so won’t have results for a bit, but I’ll show some examples of what I mean by mixing cameras and using different approaches (ie, images that are not consistent with each other). So why is this so important? It’s easy to get caught up in a certain routine. My motto is if it ain’t broke, don’t fix it. So I stick with the tried and true, like. for. ever. This play is about producing a stellar image. It’s all happenstance. I shoot what I see, and since I’m driving down random roads, and “getting lost” I don’t know what I’ll find, what I’ll shoot, or how it will come out. I tried a few fun, new things. I might even get results that I’m wild about, or it could be a complete bust. That’s not that important. This pushing into new territory is what I need to keep my photography fresh, to try new things, and to maybe find something unusual that might launch my work into a new direction. Sticking to one thing always and forever can be stagnating, even if done well. So get out there, play, and try new things.

LEFT: Image taken with my Hasselblad film camera. Images are crisp, focused how I choose (in this case a very shallow depth of field). I’ve included the film border to show the complete image. No vignetting here!

RIGHT: An image taken with a Holga toy camera - it has a plastic lens, creates “soft” images with a natural vignette, and often has light leaks (the streaks of pink), even after taping up the inside because it’s cheaply produced with low quality.

If you’d like to see some of the results in the coming weeks, please check out my Instagram feed where I post current work, even if it doesn’t make the cut to my website. Find me at @tazarat.

Focus, Ideas, and General Musings on My Aesthetics

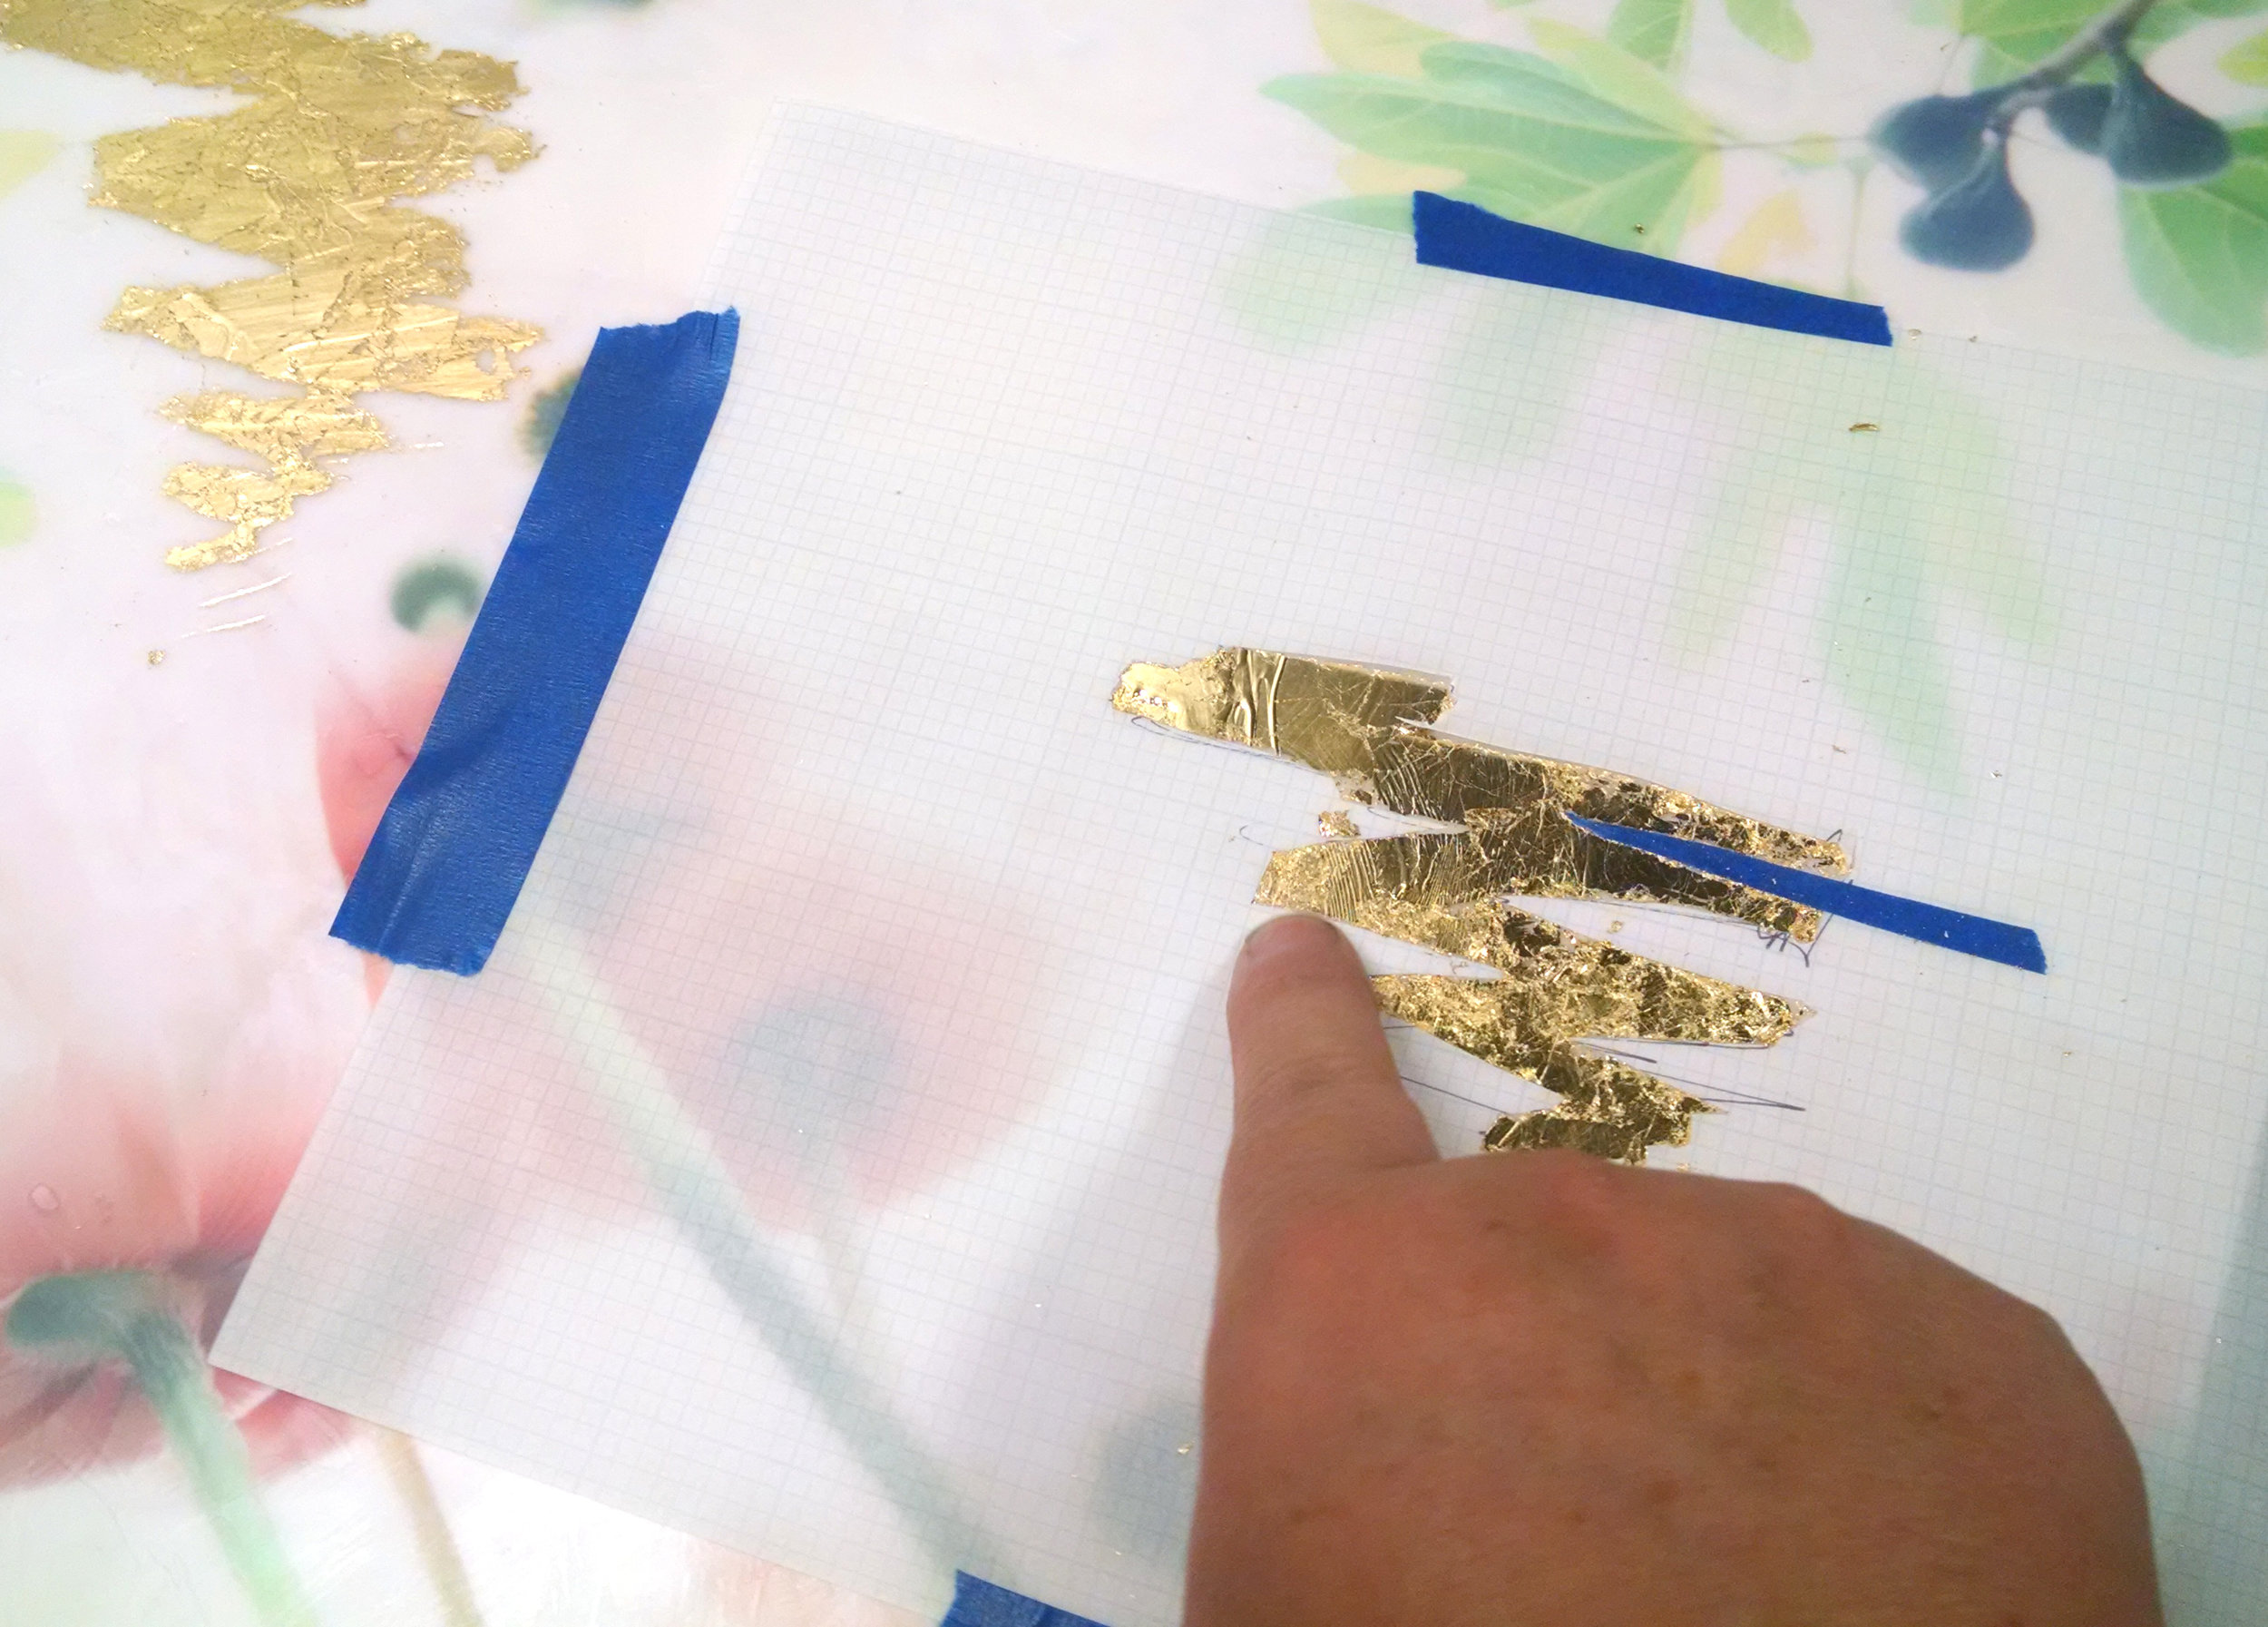
Ever since I can remember, I have loved flitting around the idea of of something, from differing angles. Rather than a single deep dive, I shallowly examine something, then go off to something else, which is the same subject but from a different angle. I’m actually holding on to the same idea, just circling around it. Lots of small nips, rather than one unreleased bite. I think that’s why I gravitate towards photography as an art form. Each step is short in duration, but a whole project is lengthy. Same with the photoencaustics I make. A trip of a few hours, snapping a few photos. Then comes the developing, looking, putting aside, thinking about, before returning in a burst of time on my light table. Then the scanning, editing and cleaning up digital files. Then later on a trip to print photos, then time for it to offgas. Finally, some time in the studio in stages, to prepare panels, glue, let dry, then another visit to add wax, then another visit to work on the surface embellishments. LOTS and lots of steps, but all in small concrete bites, over the course of time. I’m not someone that can do 8 hours in the studio painting something day in and day out. It’s not an issue with focusing (or maybe it is?). But rather, I do a lot of skimming. I read headlines in the paper, but rarely read the articles. I flip through magazines enjoying the visuals but almost never read the articles. Yet at the same time, I hate short stories and absolutely adore super long novels. I never want them to end. What a strange dichotomy.

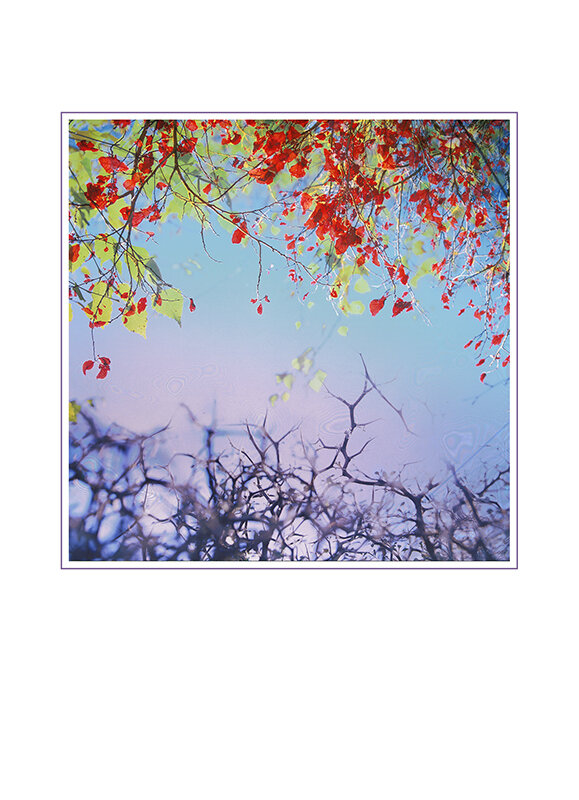
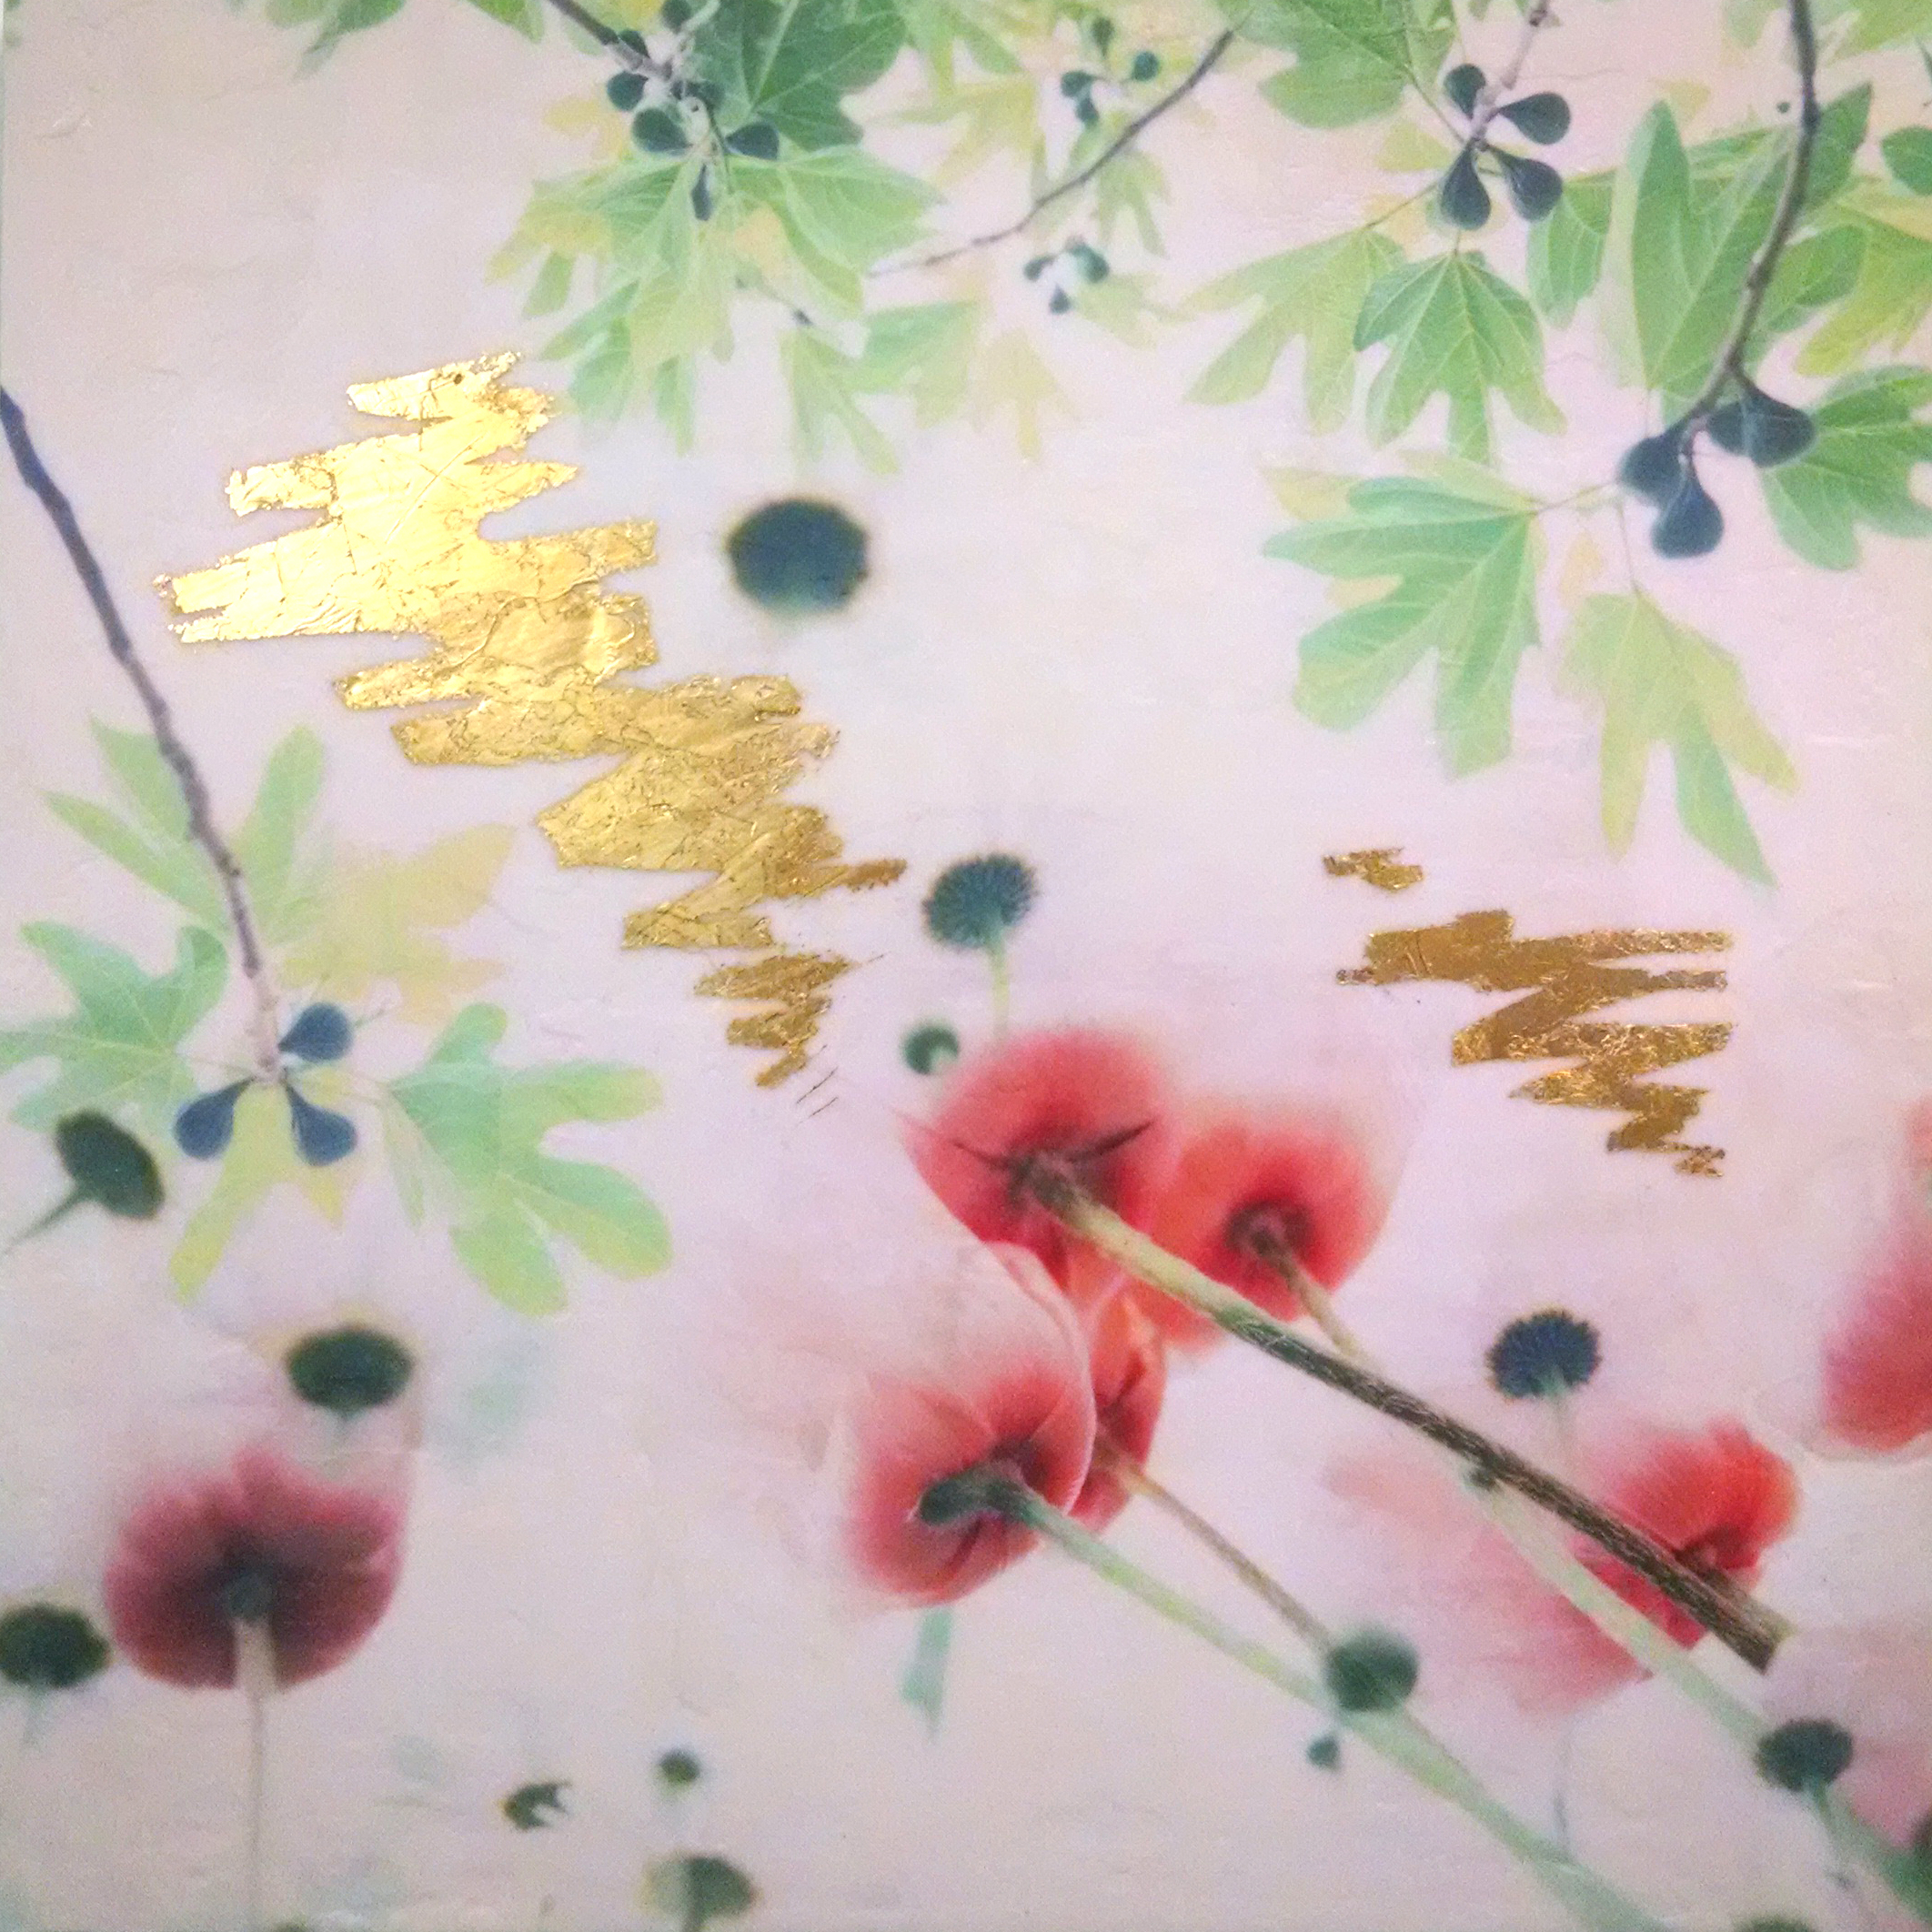
While perusing everyone’s creative endeavors online during this time of staying at home, I’ve been constantly inspired. It started me thinking about making something small and portable at home. Something to put out to the world rather than a large, grand, artwork that takes time (and resources I no longer have access to as the whole world is shut down). I started thinking about my own work. Landscapes, plants, the understory of the forest floor on a hike, the little details, the grand vistas. They all tie in together. It’s not disjointed, but different facets of one single idea, the natural world.

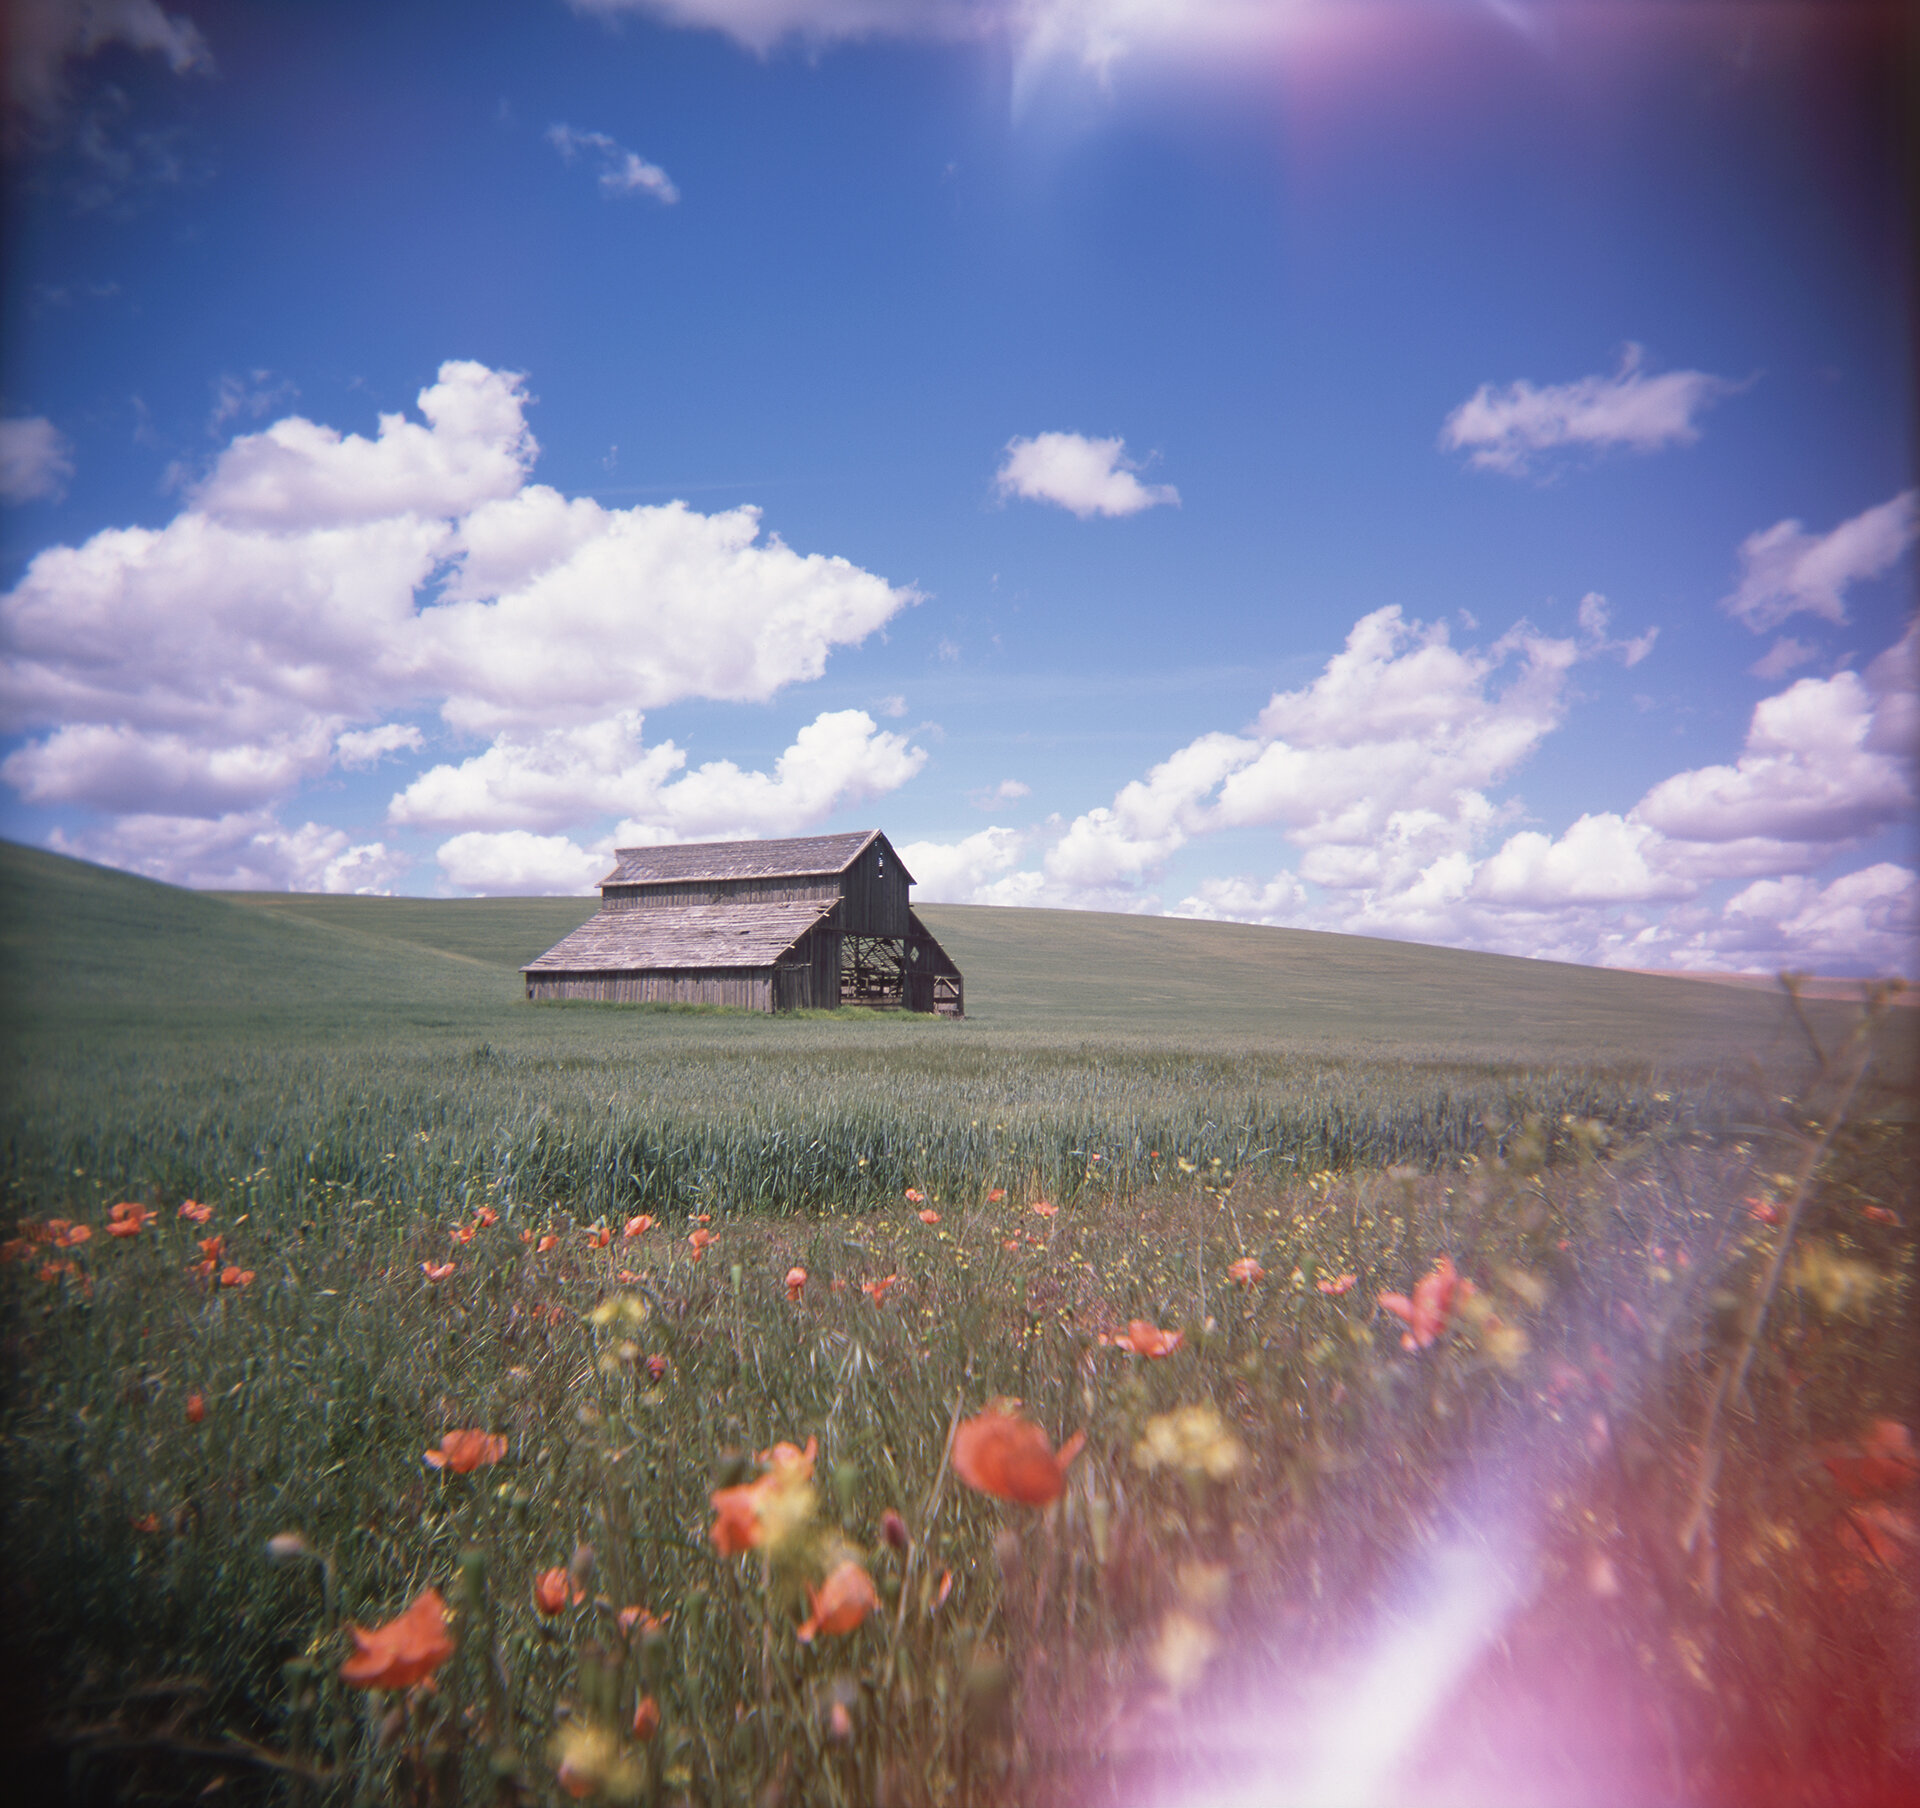
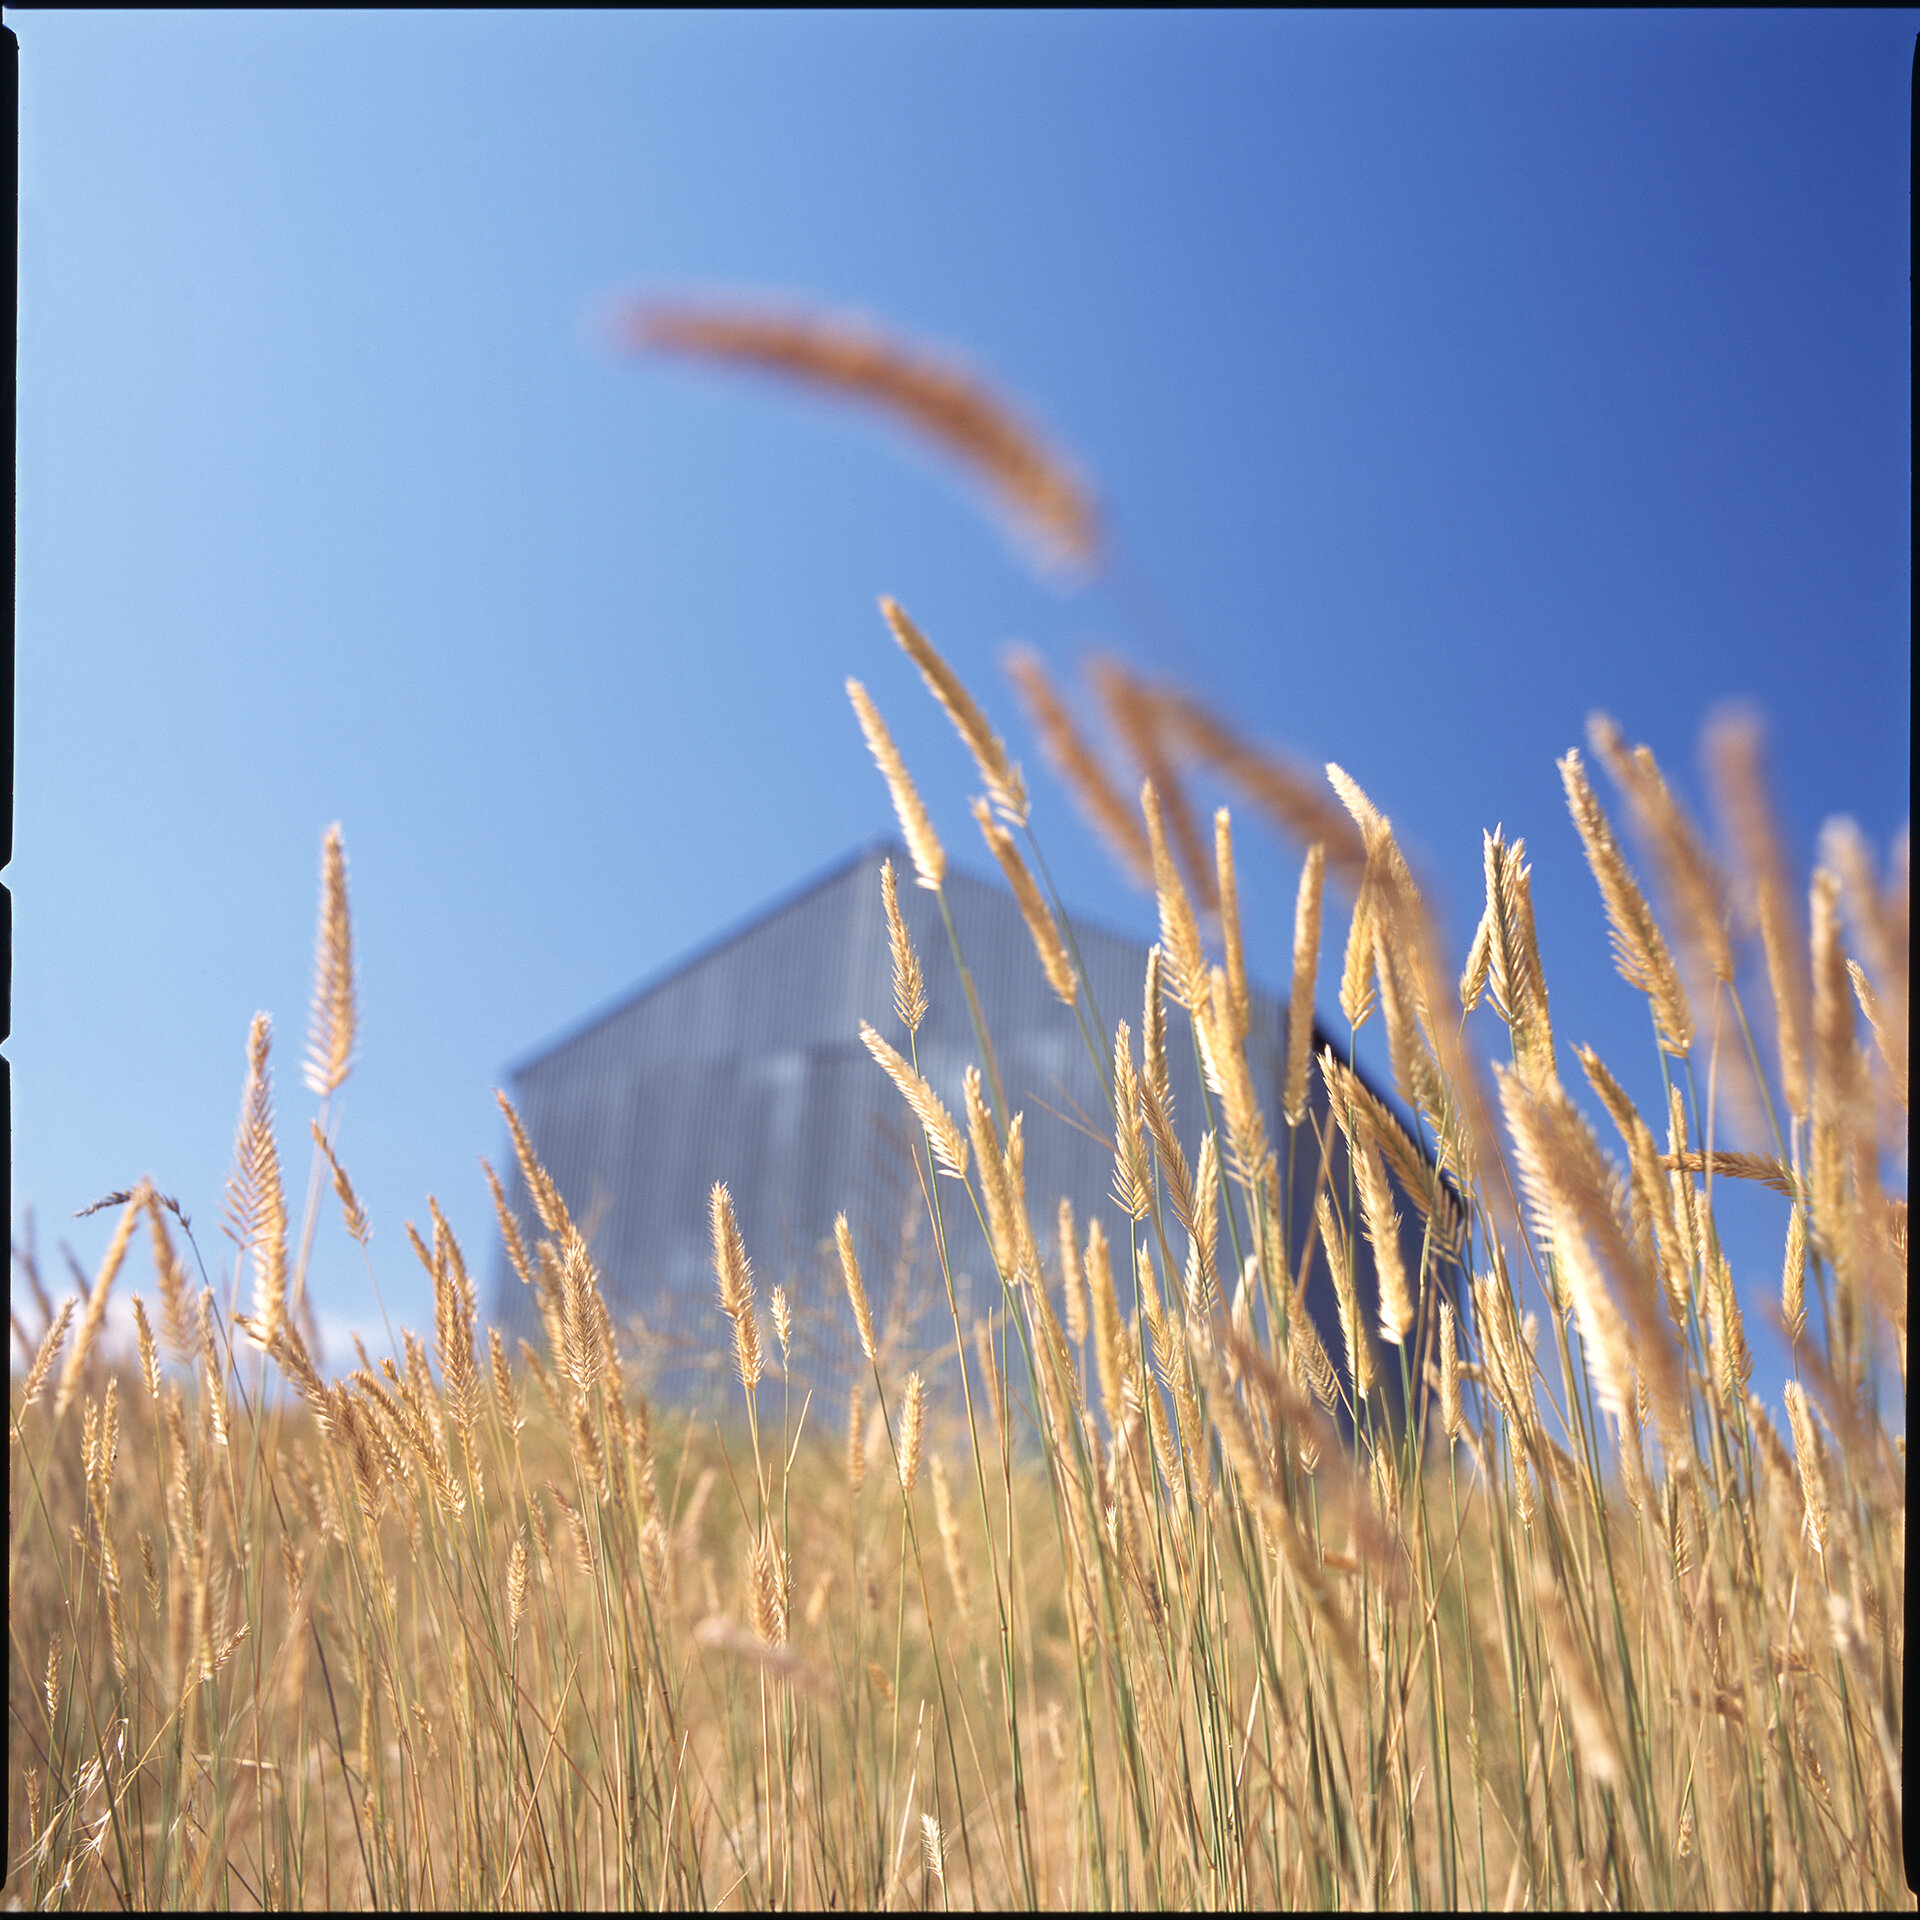
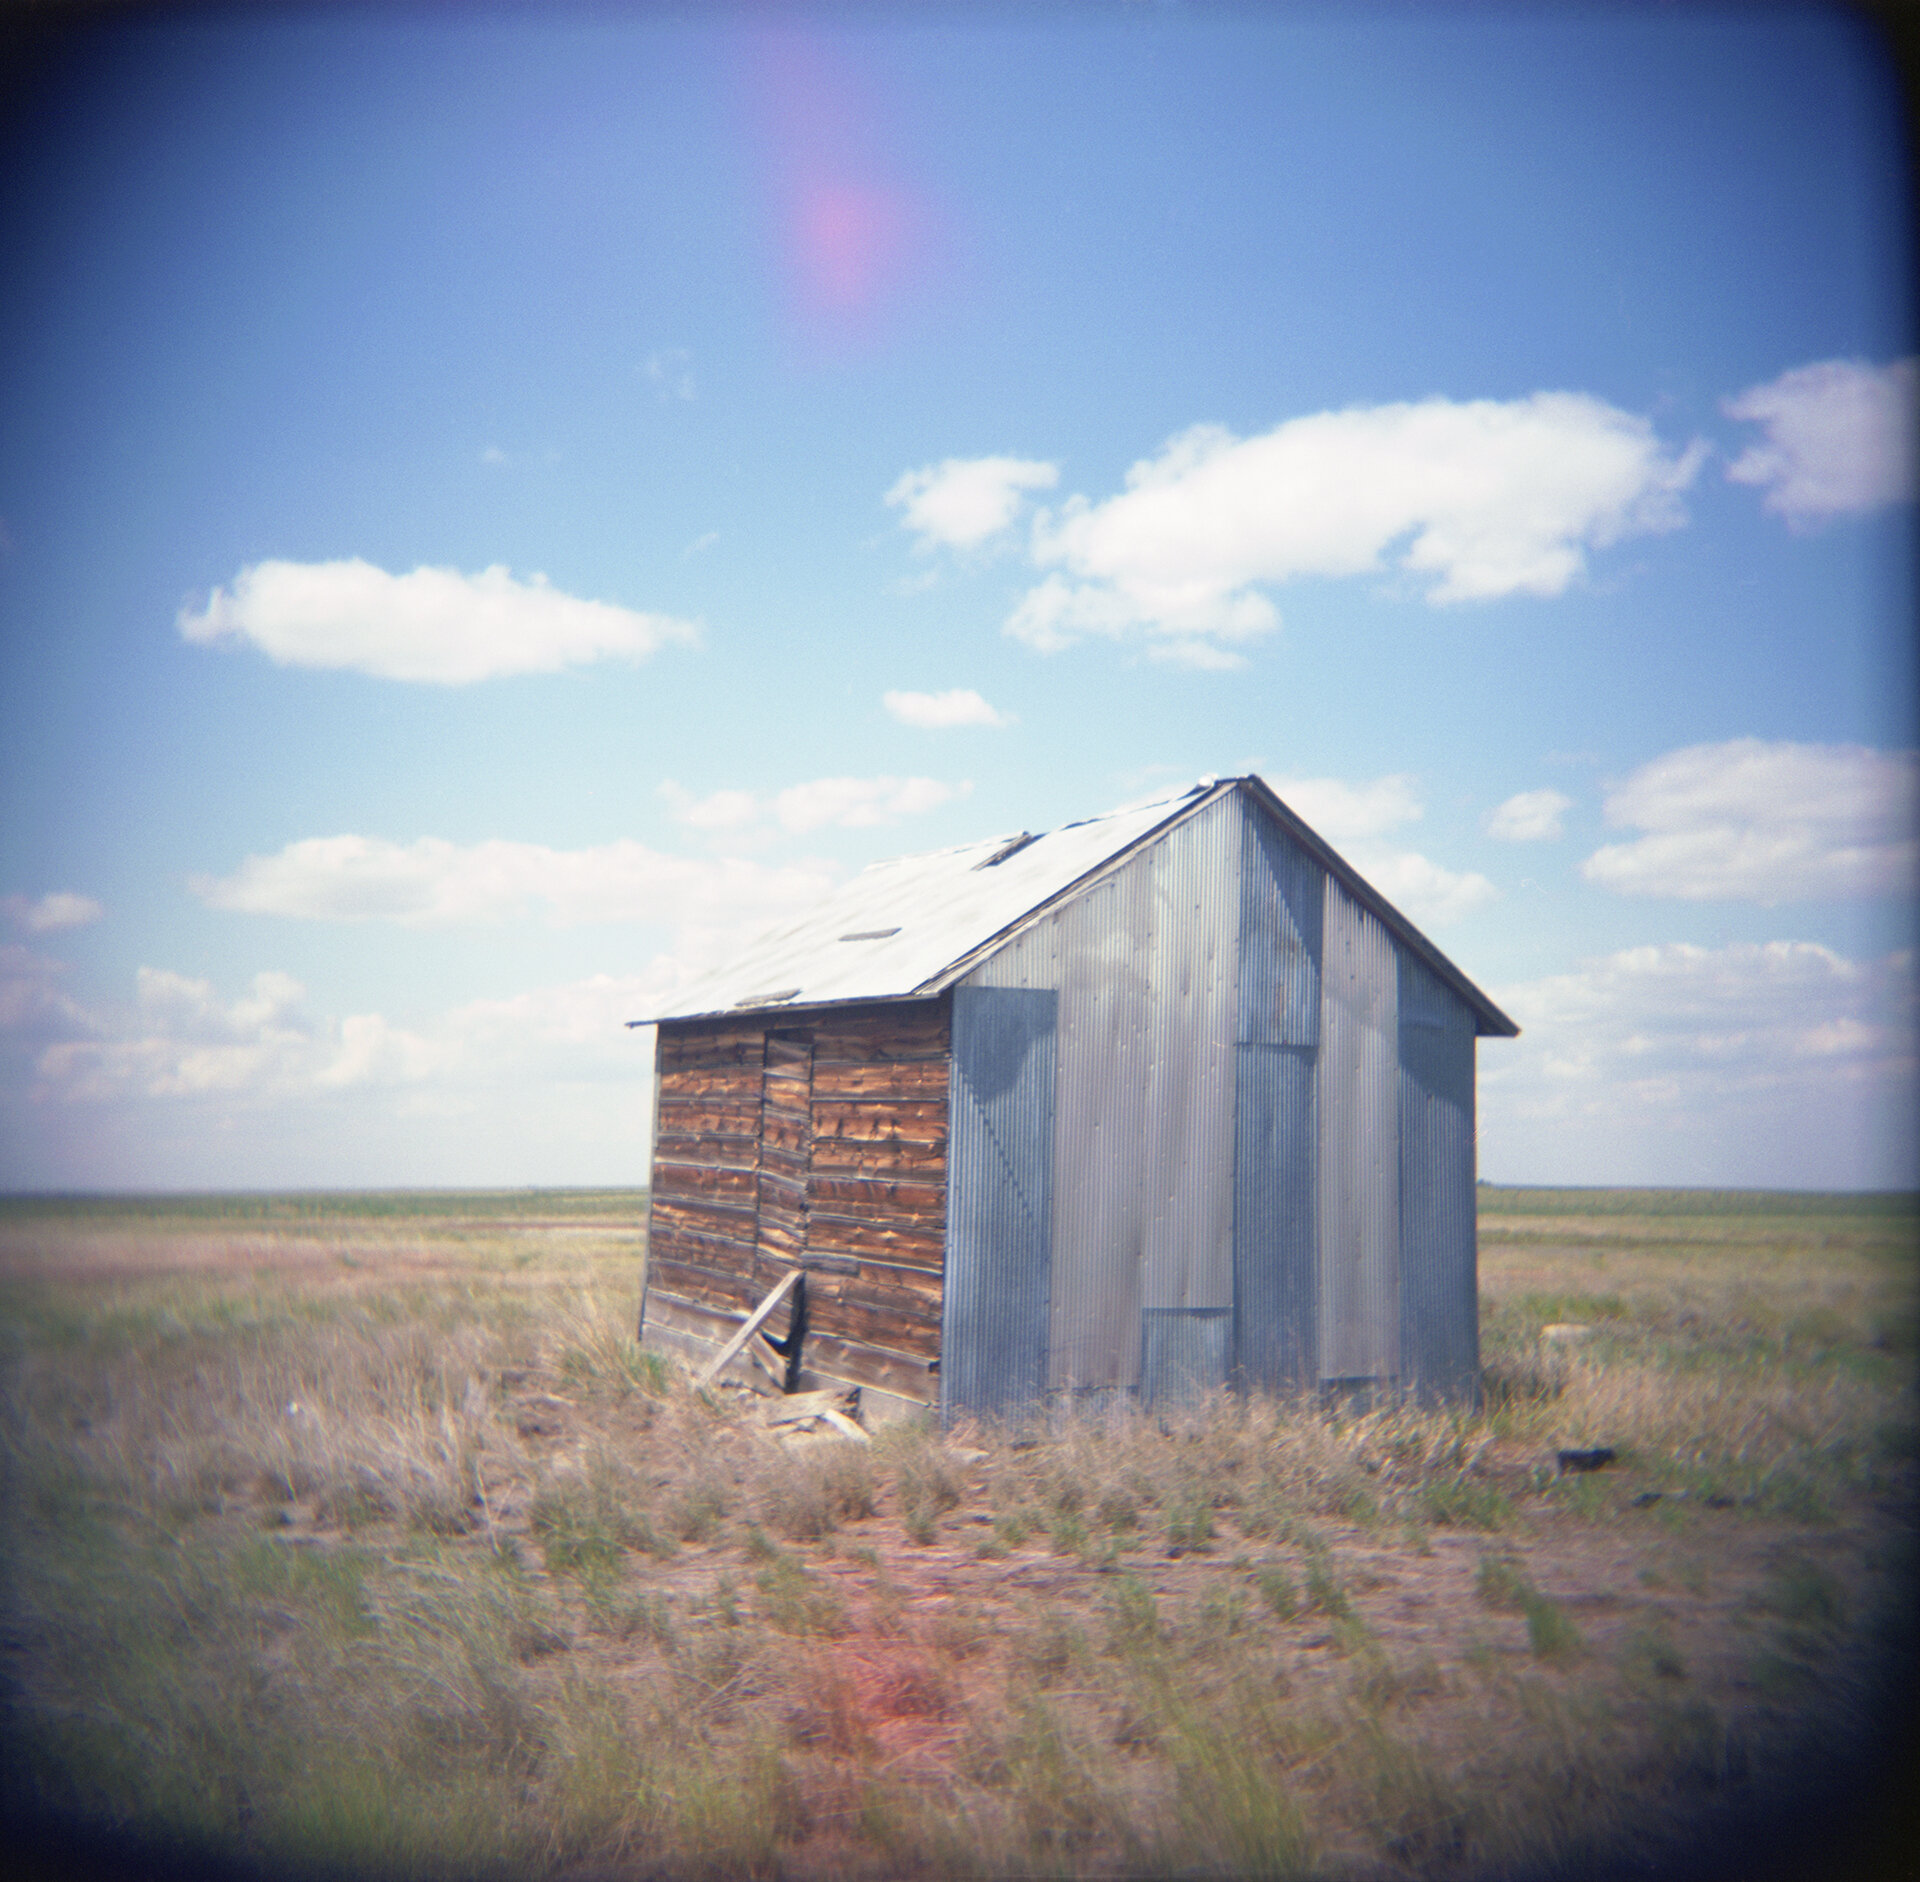
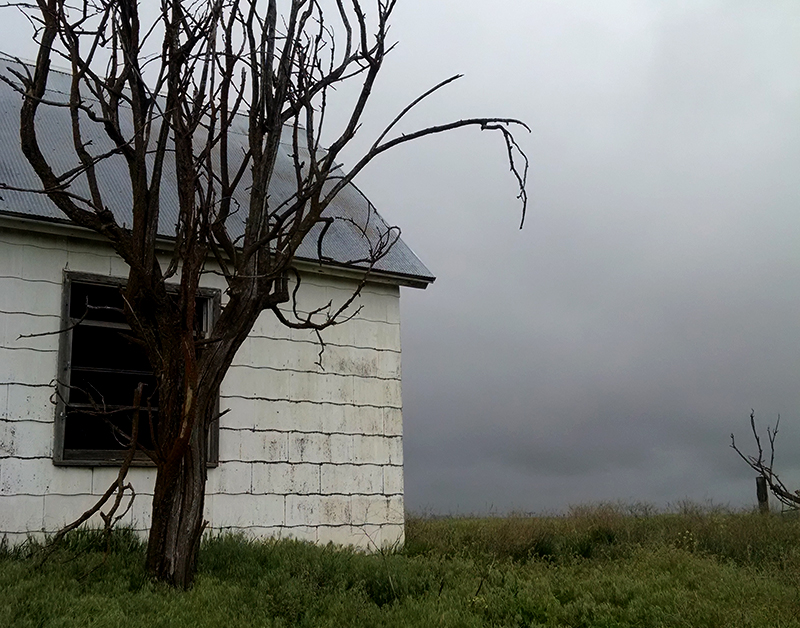
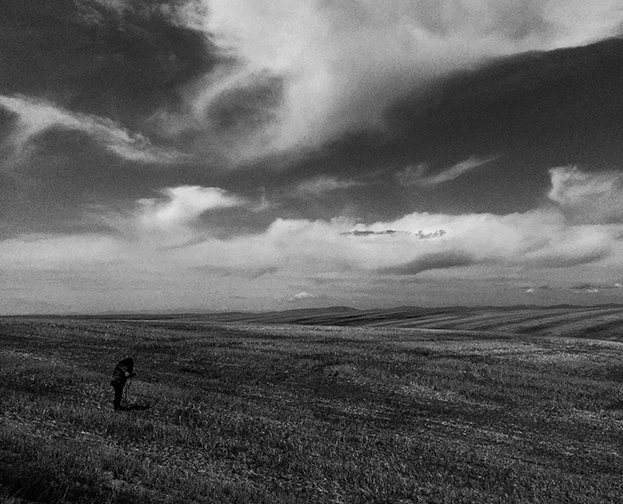
Artists are always pushed to find a style or “signature.” This takes time to develop. Early on in my artistic development, I tried different things, often badly, but eventually certain themes developed. But it took years before I could look back and see the thread of a similar idea. And not just in the subject matter itself, but how I viewed the world around me, my artistic lense as you will. In one of my first artist statements I talked about color and composition being important in every photograph I take. It’s what resonates with me when I decide, “aha” that’s the image I want to photograph. It’s all about simplicity of a space with my Eastern Washington landscapes. I unofficially called them “zenscapes” since they had to do with purity of composition, simplicity, and uncomplicatedness. I also realized that it was an emotive response I had to a place. Like the Japanese aesthetic, Zen is about quietness, being centered, and at peace. These locations, when I felt that feeling in my gut, were about that sense of rightness. What I felt emotionally was manifested visually. In a sense, I was trying to capture on film what I felt with my mind, body, and soul. I get that feeling with nature, and not with people or urban locations. That’s why I don’t shoot people or do street photography.

As I start thinking about making my work more portable and humble, I’ll be thinking a lot more on this. Self-reflection and the ideas of thinking itself can have their own rewards, and I hope they’ll soon impact the visual art that I make. There’s so many directions to take with this “scanning” multi-faceted approach. Nothing is one-dimensional, from topographies, to time. Something exciting for me to digest, and explore!

Wishing you all good health in this time of uncertainty,
Tara

How to Plan an Exhibit Layout

Two years ago I was awarded an exhibition at the City of Kent for Jan/Feb 2020. With 45’ of wall space, I needed to figure out what works to show, and how many to prepare (specifically how many frames I needed to order). Before I go any further, think how you would plan if you were in this situation. Not only picking the works, paying for the presentation (and framing is expensive!), but how many to stuff into your car to transport on the day of install. Planning is a way to ensure you’re fully prepared, and helps with a smooth delivery and installation, especially if the gallery director is not doing the work for you.

Using Excel to determine the layout and spacing of work on a 45’ wall.

It’s easy once you’re onsite and the blank wall is there and you are able to lay work out and arrange it to figure it all out. But how do you plan efficiently, in advance? In my case, I used Excel to plan the layout, using it as a visual tool rather than for it’s mathematical functions. I basically turned it into online graph paper by resizing the columns so that they created square-shaped cells rather than the typical rectangles. I assigned a dimension to a square (2 squares = 1’ or 12”), and used it as a rough visual guide. I put the center line of the artwork at roughly 5’ (or 60”, which is standard) and assumed a 10’ high wall (20 squares high), for ease of layout, with the works basically centered vertically. For the length, 45’ ended up being 90 squares (45 feet x 2 squares/foot = 90 squares). Yes, I’m pretty analytical and left brained as well as being a visual artist, but this program is a great tool that I highly recommend.

I used the border tool to create frames, then inserted thumbnails of my images to simulate framed piece. This allowed me to plan spacing between works and how best to group different series. It let me play around with placement of pieces to find the most cohesive and best flow to what I planned to bring. Ultimately, it let me determine how many pieces to bring and how many frames I needed to order.

For those unfamiliar with Excel, I used the fill (or paint bucket) tool to create the solid grey walls. I didn’t bother with filling the “frames” with white, which I could have - you can still see the cell outlines where the frame matting would normally be. I found online clip art of figure silhouettes to use for scale and drama (though it was totally unnecessary) as a final (geeky) touch, though that is completely unnecessary.

Paper cutouts would also work if you you’re not comfortable on the computer. My final layout was a pretty close match to this, so it did what I needed it to accomplish. I hope this gives you an idea for planning your own layout. Good luck, and drop me a note if you found this useful.

The orange circled area is the space I had for my portion of the exhibit. Two other walls were for another exhibitor, Phil Eidenberg-Noppe, to show his artwork, which was roughly equivalent in length, though on two walls instead of a single one. We …

The orange circled area is the space I had for my portion of the exhibit. Two other walls were for another exhibitor, Phil Eidenberg-Noppe, to show his artwork, which was roughly equivalent in length, though on two walls instead of a single one. We did a collaborative piece on the 11’ wall on the upper left (images can be found on the next blog post).

Encaustic Techniques: Masking for Metal Leaf and Glitter

In creating new photo encaustic mixed media works, I often apply embellishments to the surface of the wax. Careful and controlled application is done through the use of custom stencils I make from scratch. To contain an area to add gold leaf, I need to block off or mask areas to leave untouched. This can be done by cutting out shapes from paper and laying them on top of the wax and taping in place. I use blue painter’s tape, as the adhesive is designed to release easily. It also doesn’t damage the wax at all. The hole (of whatever shape) created in my stencils allows me to add the metal leaf cleanly, then lift the mask away. The second method is to use tape to outline an area free form. This can take longer, and I often need to get creative with the application around curved and organic shapes. I often use this method when gilding narrow tree branches.

In the few times I’ve used glitter, I take much more care in preparing the surface to mask off every area not to be covered - the prep work needed is significantly more than when working with metal leaf. Glitter is notorious for being hard to control and going everywhere. Luckily, both metal leaf and glitter are fairly easy to remove with blue tape - the adhesive picks it up without damage to the wax surface.

When the mask or stencil is removed, the embellishment needs a final heat set to get it to remain more permanently on the surface. I do this by rubbing - friction both pushes it into the wax surface for a better bond, and it also causes the wax to warm and helps with the adhesion. A heat gun or torch can also be used, but there’s a fine line before the surface heats up too much and it starts to move and break up. Due to the glitter being such a large size, I typically finish with a very light application of a heating gun, but rarely use an external heat source for metal leafing.